
Some materials I used:
→ Frame of your choice
→ Chalkboard Paint
→ Sheet metal
→ Dremel
→ Hooks
→ Lock nuts
→ Fine grit sandpaper
→ Thread Locker
→ Drill
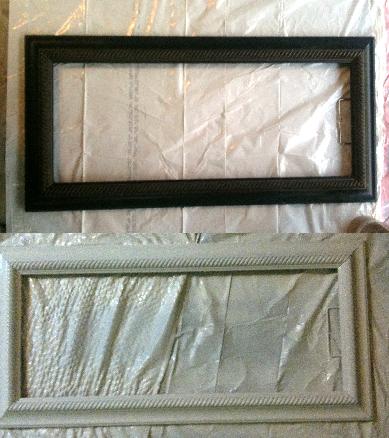
I also painted my frame with a glossy white spray paint, so you can add that to the list above if you don’t already like your frame color. To get started I painted one coat of white on the frame…3 coats later and it is glossy white like I want!
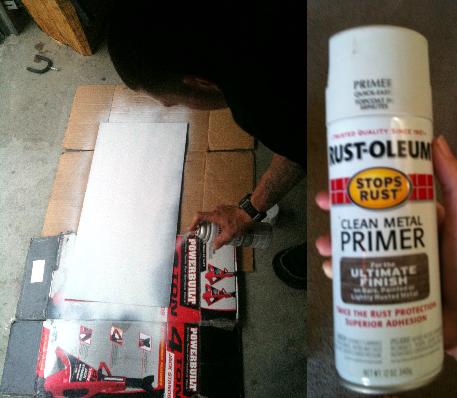
Next, I scuffed up the sheet metal with some fine grit sandpaper (it helps the primer adhere to the smooth surface). Don’t worry about the scratches, they wont show through. Let the primer dry according the instructions on the bottle, then go back over with the sandpaper. Be sure to wipe clean, then add one more coat of primer. You don’t have to do 2 coats of primer, but I want the blackboard to hold up well.
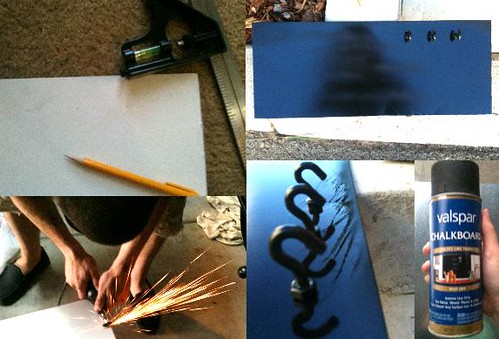
After the primer was dry I outlined the size I needed with the original glass from the frame. Next I had Mr. SK (Andrew) attempt to cut the metal with our new dremel. All didn’t go as well. Ultimately I ended up driving over to Ace Hardware and having them cut it for me (free of charge).
Then I figured out where I wanted to drill my holes for the hooks. Once finished, I spray painted the sheet metal with the chalkboard paint. I also gave the metal hooks a coat of primer and the blackboard paint too. After, I attached the hooks with the nuts and secured with thread locker. The backs were a little long on the hook backings, so I had Andrew cut them flush with the nut. (There are probably easier way of doing this, but it was a fun challenge)
One more coat of blackboard paint and the new chalkboard was ready to be placed in its frame. It fit very snug, I didn’t even need staples or nails to secure it to the frame.
Next just some chalk and car keys and its ready to go, and some magnetics of course!

1 comments:
I love love love this! Your whole page is adorable. You are extremely talented. All I want to know now is when are you coming over to help my house? It needs help soooo bad! Your 3yo boyfriend CK (not SK) would be most appreciative to have a more stylish, classy house. Ok, maybe he wouldn't really even notice but his mommy would be so very excited. I'm way challenged when it comes to home decor and design. Help me lil!! ;)
Post a Comment